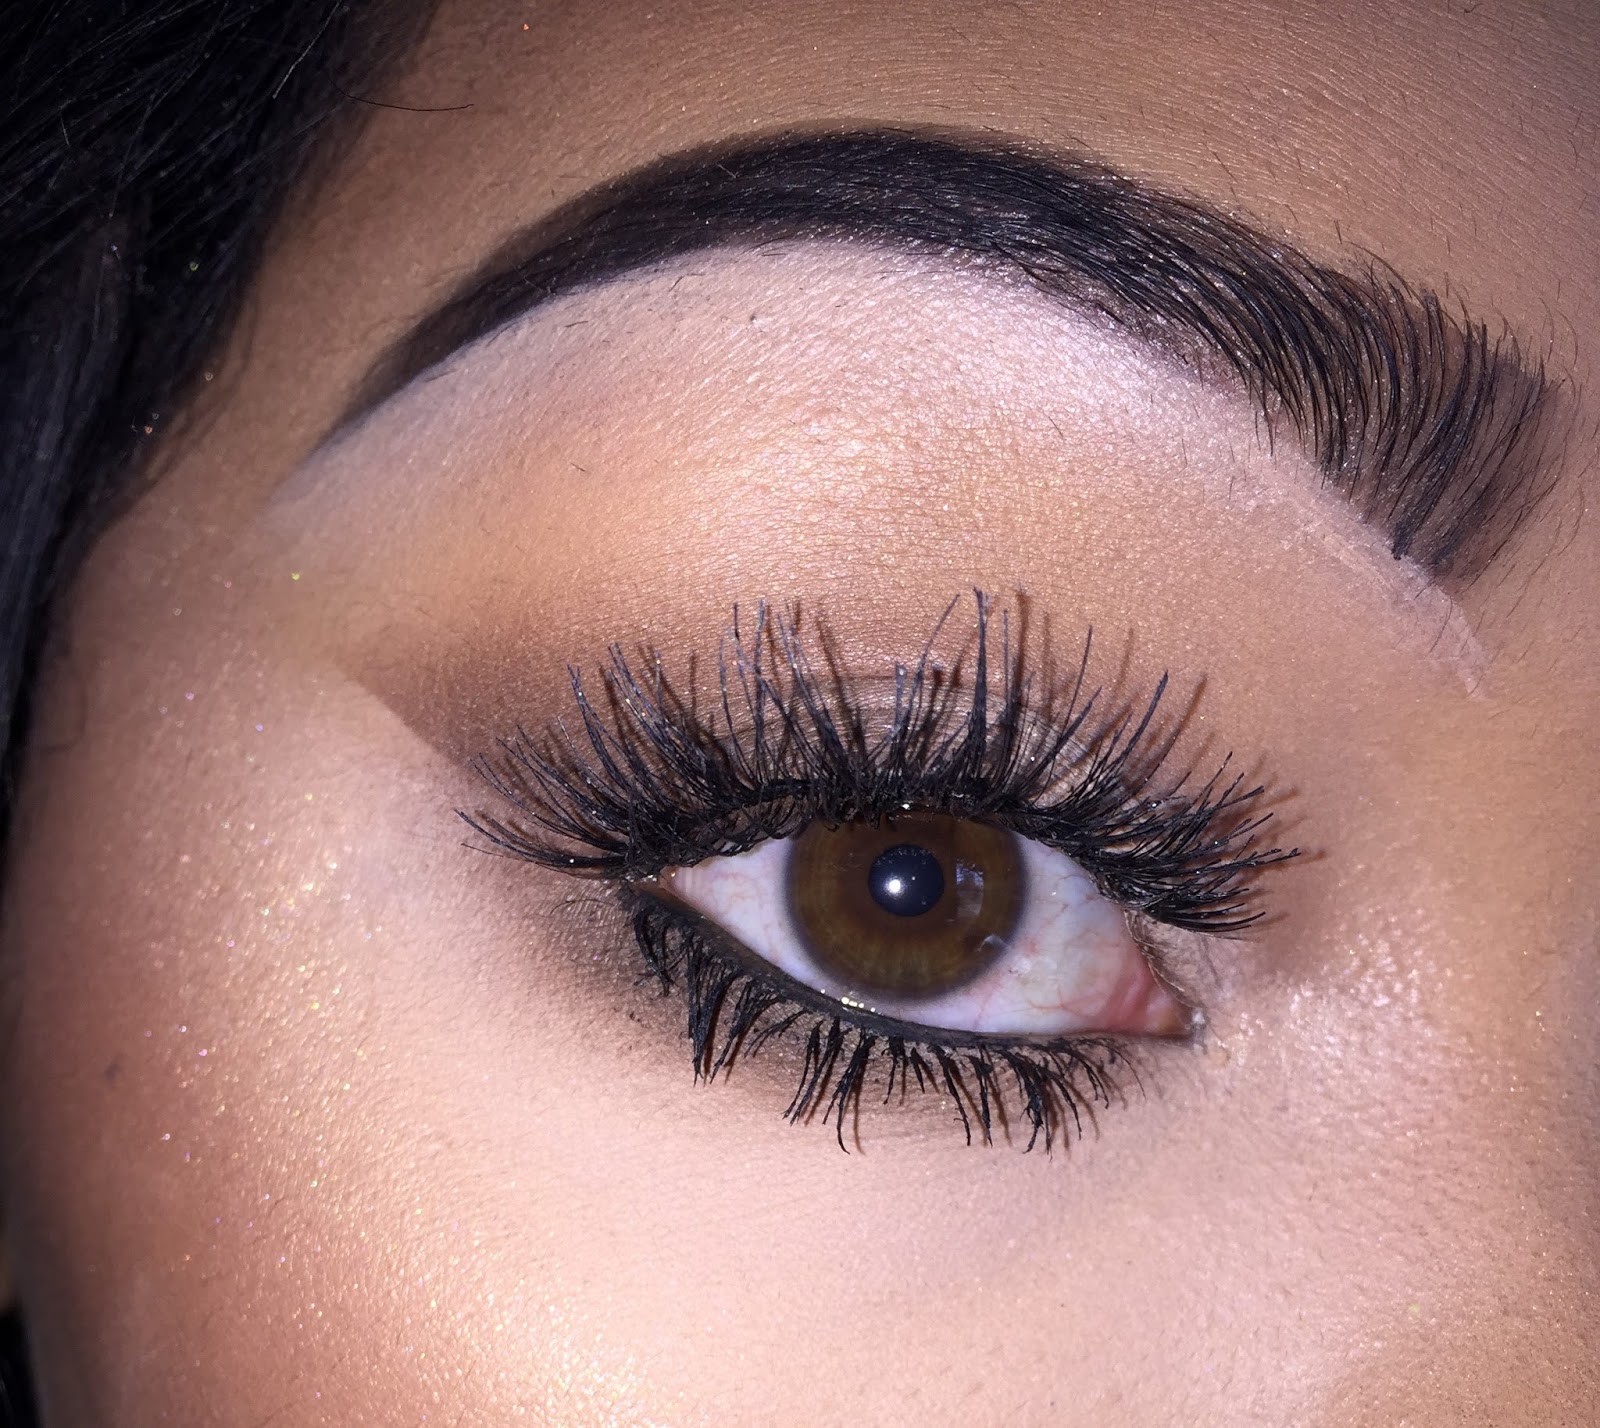
STEP 1: EYESHADOW BASE
 Some might argue that your eyeshadow base is one of the most important steps in eyeshadow application. I'm one of those people as well. You need to have a strong base to hold everything together. Eyeshadow bases also help blendability, pigmentation and longevity of your eyeshadows. There are plenty of eyeshadow bases that I myself have tried and can honestly recommend to you guys.
- Urban Decay Primer Potion
- Wet n Wild Photofocus Eyeshadow Primer
- Nyx Jumbo Eye Pencils (any color depending on the look you're going for)
- Concealer
What I use day to day in all honesty is concealer. It gets the job done and is already right there in my makeup bag. Apply the eyeshadow base from lid to browbone, and make sure it's equally blended all across the eyelid area.
STEP 2: SET THE EYESHADOW BASE
Setting the eyeshadow base is important to do right after application. Your eye area has tons of creases, and applying a liquid product without a powder on top will emphasize creasing, and will make your eyeshadows crease, and it's not the most flattering look. You can use two things to set your shadow base: a skin- tone colored eyeshadow or your face powder. I use either/or, whichever is closest in front of me in all honesty- both work the same for me.
STEP 3: APPLY THE TRANSITION COLOR
 The transition color is what helps your eyeshadows all blend and mesh togehter smoothly. You can have blended eyeshadow, but the colors may not mesh together well. The transition color underneath will help in that. I almost always opt for a very light, neutral toned brown. I use a big fluffy brush and sweep this in my crease, and right below my browbone- so it covers about half of the eye area.

STEP 4: APPLY A CREASE COLOR
 These next few steps are very crucial, but can also get a tad repetitive. One of the biggest steps I've learned in my years of doing makeup is to build up color pigmentation little by little. Take your time blending, over blend if you need to! How to build up color payoff and pigmentation is this: So you know that light brown eyeshadow color you just used for the transition shade? Go up 1-2 shades from that, go with a denser but still fluffy blending brush, and apply that in the crease as well, but make sure it stays in the crease a little lower than your transition shade. dip your brush in the eye shadow little by little. It's way easier to build up color pigmentation than it is to blend it away.
 Now, after I get the first crease shade in, I'm going to go back with that first fluffy crease brush and transition shade, and with no additional product, I'm going to sweep my brush over where the crease shade and transition shade meet, and just make sure everything is blending accordingly. Be sure to use windshield wiper motions like on your car to blend this crease. If you need to go back into the crease shade after this, feel free! Makeup is all about applying color, blending it, and rebuilding. Go back and forth with this step until you've reached your desired definition and blend of your makeup.
These next couple of steps get more optional- it depends on how dark of a crease you want. Basically, the darker the crease you want, the darker of shades of eyeshadow you want, the smaller detailed of a crease brush you want, and the lower in the crease area you'll apply the colors. So, in this step, I went in with, again, a brown shade 2 shades darker than the previous shade, and with an actual crease brush, I'm going to apply this more so in the crease only, versus the crease and upper crease area like previously done. Just be sure while doing this, you are going back with your previous brush and blend accordingly. You don't necesarily need more color when you're strictly blending, so only get more eyeshadow if you feel you need more. Again, apply, blend, reapply, reblend.
 And in this last crease step, I just go in with a detailed crease brush, an even darker brown, and apply this even more defined in the crease, and I repeated the previous blending steps.
STEP 5: APPLY THE LID COLOR

 The lid color will go directly below all the crease shades. An optional step you can take to make this lid shade pop is to either reapply your original eyeshadow primer you used earlier, or what I use is the NYX Jumbo Eye Pencil in Milk. It's a white, creamy eyeshadow base that works perfect. Just be careful in not messing up your creasework! You spent too much time blending that to ruin it! Afterwards, I take a flat eyelid brush, and take the color you want on your lid, and just tap it on the lid. Sweeping it across like you did in the crease will make the lid application bumpy and uneven. Today, I stuck with a basic, more neutral eye look, so I just had a cream shade on the lid.
Now your eyeshadow is done! Go ahead and apply whatever eyeliner, mascara, falsies, etc. you want and you'll be on your way!


PRODUCTS USED:
Brushes: Elf cosmetics, EcoTools, Royal & Langnickel
( All can be found at drugstores)
Eyes: MorpheBrushes eyeshadows
OTHER RECOMMENDED PRODUCTS:
Moda Brushes
Morphe brushes and eyeshadows
Buxom Cosmetics eyeshadows
Wet n Wild Cosmetics eyeshadows
KatVonD eyeshadows
Smashbox Cosmetics eyeshadows
Hope you guys learned a tip or two! Subscribe by entering in your email for more confessions!
XOXO


