Showing posts with label cosmetics. Show all posts

Sunday, March 19, 2017

Eyeshadow 101


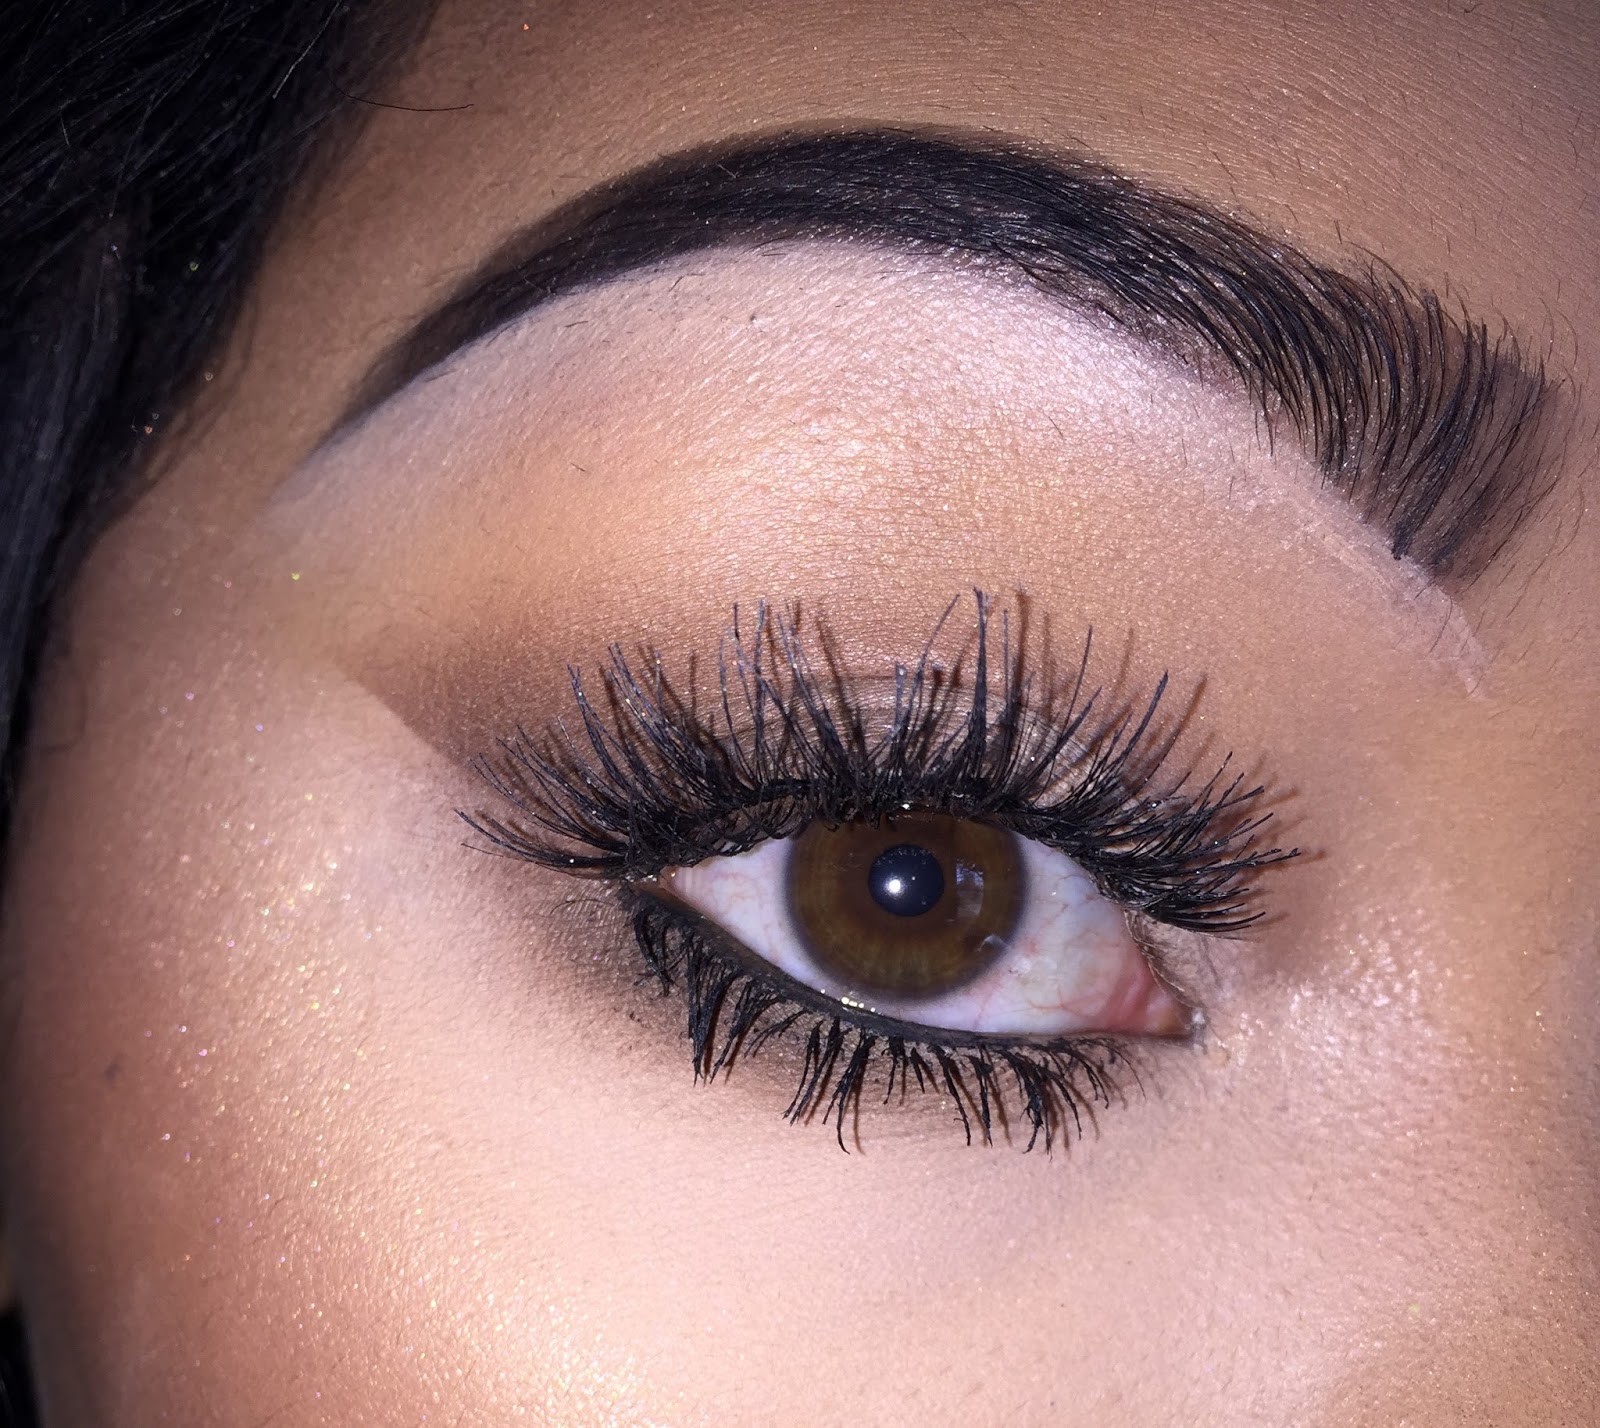
Hi my beauties! One of the most commonly asked questions I get as a makeup enthusiast is how I apply eyeshadow how I blend eyeshadow, what brushes/ products I use, etc. So today's post I'll be helping you! I'm going to share all of my favorite brushes and eyeshadows to use, how to use them, and to get your eyeshadow game on point. Excuse my ratchet extension clip hanging out in the pictures, I needed to clip my hair out of by face and it was inevitable to hide it lol


STEP 1: EYESHADOW BASE

Some might argue that your eyeshadow base is one of the most important steps in eyeshadow application. I'm one of those people as well. You need to have a strong base to hold everything together. Eyeshadow bases also help blendability, pigmentation and longevity of your eyeshadows. There are plenty of eyeshadow bases that I myself have tried and can honestly recommend to you guys.


  • Urban Decay Primer Potion
  • Wet n Wild Photofocus Eyeshadow Primer
  • Nyx Jumbo Eye Pencils (any color depending on the look you're going for)
  • Concealer

What I use day to day in all honesty is concealer. It gets the job done and is already right there in my makeup bag. Apply the eyeshadow base from lid to browbone, and make sure it's equally blended all across the eyelid area. 

STEP 2: SET THE EYESHADOW BASE

Setting the eyeshadow base is important to do right after application. Your eye area has tons of creases, and applying a liquid product without a powder on top will emphasize creasing, and will make your eyeshadows crease, and it's not the most flattering look. You can use two things to set your shadow base: a skin- tone colored eyeshadow or your face powder. I use either/or, whichever is closest in front of me in all honesty- both work the same for me.

STEP 3: APPLY THE TRANSITION COLOR

 The transition color is what helps your eyeshadows all blend and mesh togehter smoothly. You can have blended eyeshadow, but the colors may not mesh together well. The transition color underneath will help in that. I almost always opt for a very light, neutral toned brown. I use a big fluffy brush and sweep this in my crease, and right below my browbone- so it covers about half of the eye area.

STEP 4: APPLY A CREASE COLOR

These next few steps are very crucial, but can also get a tad repetitive. One of the biggest steps I've learned in my years of doing makeup is to build up color pigmentation little by little. Take your time blending, over blend if you need to! How to build up color payoff and pigmentation is this: So you know that light brown eyeshadow color you just used for the transition shade? Go up 1-2 shades from that, go with a denser but still fluffy blending brush, and apply that in the crease as well, but make sure it stays in the crease a little lower than your transition shade. dip your brush in the eye shadow little by little. It's way easier to build up color pigmentation than it is to blend it away.


Now, after I get the first crease shade in, I'm going to go back with that first fluffy crease brush and transition shade, and with no additional product, I'm going to sweep my brush over where the crease shade and transition shade meet, and just make sure everything is blending accordingly. Be sure to use windshield wiper motions like on your car to blend this crease. If you need to go back into the crease shade after this, feel free! Makeup is all about applying color, blending it, and rebuilding. Go back and forth with this step until you've reached your desired definition and blend of your makeup.


These next couple of steps get more optional- it depends on how dark of a crease you want. Basically, the darker the crease you want, the darker of shades of eyeshadow you want, the smaller detailed of a crease brush you want, and the lower in the crease area you'll apply the colors. So, in this step, I went in with, again, a brown shade 2 shades darker than the previous shade, and with an actual crease brush, I'm going to apply this more so in the crease only, versus the crease and upper crease area like previously done. Just be sure while doing this, you are going back with your previous brush and blend accordingly. You don't necesarily need more color when you're strictly blending, so only get more eyeshadow if you feel you need more. Again, apply, blend, reapply, reblend. 


And in this last crease step, I just go in with a detailed crease brush, an even darker brown, and apply this even more defined in the crease, and I repeated the previous blending steps.


STEP 5: APPLY THE LID COLOR

The lid color will go directly below all the crease shades. An optional step you can take to make this lid shade pop is to either reapply your original eyeshadow primer you used earlier, or what I use is the NYX Jumbo Eye Pencil in Milk. It's a white, creamy eyeshadow base that works perfect. Just be careful in not messing up your creasework! You spent too much time blending that to ruin it! Afterwards, I take a flat eyelid brush, and take the color you want on your lid, and just tap it on the lid. Sweeping it across like you did in the crease will make the lid application bumpy and uneven. Today, I stuck with a basic, more neutral eye look, so I just had a cream shade on the lid.


Now your eyeshadow is done! Go ahead and apply whatever eyeliner, mascara, falsies, etc. you want and you'll be on your way!


PRODUCTS USED:

Brushes: Elf cosmetics, EcoTools, Royal & Langnickel 
( All can be found at drugstores)

Eyes: MorpheBrushes eyeshadows

OTHER RECOMMENDED PRODUCTS:

Moda Brushes

Morphe brushes and eyeshadows

Buxom Cosmetics eyeshadows

Wet n Wild Cosmetics eyeshadows

KatVonD eyeshadows

Smashbox Cosmetics eyeshadows

Hope you guys learned a tip or two! Subscribe by entering in your email for more confessions!

XOXO

Thursday, March 9, 2017

Spring Makeup Trends

Image result for spring makeup products    Hello everybody! With spring (thankfully) being around the corner, it's such an exciting time for beauty lovers. Why? New makeup trends, new makeup releases, new hair and fashion trends, etc. Of course the warmer and sunnier weather coming around the corner too is a major plus! So with that being said, today I'm going to be helping you guys getting your makeup game ready for spring. I'm going to talk about some trends that are big every spring season, and some recommended products to help you achieve the desired look. Hope you guys enjoy! Don't forget to subscribe!


    TREND 1:

    Glowy Skin

Bright, radiant skin never goes out of style no matter what time of year it is. Just enhancing the glow even more is typically a style that beauty fanatics love to do. Doing this requires the following:
  • exfoliated, hydrated skin
  • dewy foundation
  • highlighter, more highlighter, and did I say highlighter?
    • To start this, be sure to wash and moisturize your face per usual before makeup application. Starting with a clean, fresh base is key for makeup application everyday, regardless of what desired skin finish you're trying to achieve,
    • Following, apply your foundation. The 2 best foundations for dewy skin finishes in my opinion are:
      • L'Oreal Tru Match (for oilier skin types)/ Tru Match Lumi (for normal-dry skin types)
      • Maybelline Fit Me! Dewy & Smooth
    • Highlighter: I think if you know eve the slightest thing about makeup, you know about the rave of highlighters. There are so many good highlighters out there, so I'll give the ones I gravitate the most towards:
      • Laura Geller- Gilded Honey
      • BECCA x Jaclyn Hill- Champagne Pop
      • Makeup Geek x Kathleen Lights- Highlighter Palette (I believe this was limited edition)
      • Wet n' Wild- Precious Petals
      • Maybelline Face Studio Highlight/ Contour Palette in medium
      • Anastasia Beverly Hills- Ultimate Glow Kit

Trend 2: 

Peaches, Corals, Oranges, Reds

    Shades of orange/red are huge for spring and summer, which I loooove because those colors compliment my eye really will. I'll include some orange toned makeup looks. For eyeshadow- the palette I recommend is the Morphe 35O. I use the all matte one, but you can get the all shimmer or the combo of the two. It's all orange based which is perfect. 


LIPS: If you are looking for a good lip option of oranges, I recommend the Smashbox Stay All Day Liquid Lipstick in Out Loud. It's so hydrating, and stays on your lips until you scrub it off. I am IN LOVE with the shade.


TREND 3:

 Pops of Color


Spring is a perfect time to try pops of bright colors. You can include pops of colors in so many different ways: lower lashline, inner corner, lips, and as a highlight shade are the most popular typically. Two good lines of affordable, but high quality eyeshadows that have a large color range are from L'Oreal- their infallible single shadows and NYX single eyeshadows. Both can be found at their websites, some drugstores, and Ulta. Here are some looks I've done that have incorporated these types of color pops:

 Inner corner: NYX Prismatic shadow in glass slipper

 Lip: Too Faced Liquid Lip in Melted Berry
Lower Lashline: MakeupGeek Bitten

Lower lashline shadow:  MakeupGeek Bitten

NYX Prismatic Shadow in Glass Slipper for inner corner, cheekbone and browbone


There ya go, guys! There are more spring trends of course, but I figured giving you guys three popular and relatively easy ones would be our best bet, right? Anyway, I hope you guys have enjoyed! Should I do the same post just with hair? Let me know!

XOXO


Sunday, March 5, 2017

February Beauty Favorites

    Hi, lovelies! Today's post is going to be me giving you guys a roundup of all of my favorite beauty products I have tried that are new, or that I have rediscovered in the month of February. I watch a ton of beauty vloggers on YouTube, and these are one of my favorite videos to watch monthly, mainly because I'm nosy and like to see what everyone else uses in their daily beauty routines. I'll have a collection of hair, makeup, and skincare stuff to show you guys so hope you all enjoy!


    SKINCARE:
Photo of Aura Cacia Essential Oil, 100% Pure, Cleansing, Tea Tree, 0.5 fl oz (15 ml)    This month, I've had a constant problem with breakouts. I'm still trying to get my skin to completely calm down, but I found something that's been really helping me out in that process- tea tree oil. Using tea tree oil on breakouts has totally changed my skin, I use a q-tip and put on drop of the oil, along with a little water, and I just dab it over the breakout and literally within the next day, the breakout gets smaller, and it's typically totally shrunken by 3-4 days. The oil I got was just from Rite Aid. The brand itself is called Aura Cacia, and I was able to get it for like 7 bucks I think! For sure under 10, which for oils that's a steal!


Image result for belif the true cream moisturizing bomb     I redeemed this moisturizer from my Sephora Beauty Insider, and I'm soooo glad I did. It's the Belif True Cream Moisturizing Bomb. It's become my new night- routine moisturizer, and I can't rave enough about it. It leaves my skin so smooth and hydrated, and by the morning it literally just feels so soft. I'm not looking forward to when I run out and have to pay the full price for one, but a little goes a long way, and it's definitely worth every penny.


HAIR:
Image result for one n only argan oil curling iron   I only have one hair favorite, and it's this curling iron from the brand One n' Only. You can find their products and tools at Sally Beauty Supply. I got their 1 & 1/4 inch curling iron actually as a birthday gift from my parents (thanks mom and pops,) and I didn't get into really using it a lot until the past 3-4 weeks and I love it. It doesn't leave my hair dry, and the iron came with a sample size of their argon oil which is amazing as well. I also just love the curl it gives my hair. It's just a very natural wave, that doesn't totally flatten out by the end of the day. I love it!


 MAKEUP:

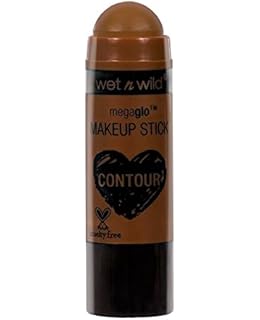
Image result for wet n wild megaglo contour stickMy first makeup favorite of the month is from Wet n Wild. I tried their new contour stick that launched at the beginning of the year, and I am soooo in love. It glides over the skin so smoothly, blends evenly, and gives your face such a natural contour for the most affordable prices! Wet n Wild can be purchased from their website, drugstores, and Ulta. Please do yourself a favor and check it out! A lot of their shades do have a warmer undertone though, and I'm very yellow- based undertone. So if you're cool toned, you may have to be careful in which shade you choose.


Image result for wet n wild photofocus powder


My next makeup favorite is from Wet n Wild as well. Their new face powders are a gift from above man. It's their photofocus pressed powder, that can be purchased at the same locations their contour stick can be purchased from. I use this to set my undereye area, and the oilier areas of my face. Such a great powder, I highly recommend this too!


 My last makeup favorite is from the brand Milani Cosmetics. It's another drugstore brand that can be purchased on their website, at Meijer, Target and CVS. This is their Amore Matte Lip Creme- and the shade I have been loooving is in the shade Covet. It's a true chocolate brown shade. The formula is amazing! If you've worn liquid lipsticks before, you know how drying some can be. This one isn't at all! It wears so comfortably on the lips, and wears for a relatively long time! Again, another affordable makeup item too that I very highly stand by.


And there you have it! Some of my favorite beauty items of the month. I hope to be able to do these as often as I can, whether that's every other month, or hopefully monthly! Thank you guys for reading, and I'll see you all soon! XOXO

Thursday, March 2, 2017

Go-To Everyday Primers and Foundations

 Hi, everyone! Today's post is going to be talking about my all time favorite foundations and primers. I get asked all the time what makeup products I use, recommend, etc., so I figured this would be a good way to share with all my beauty lovers what works best for me :) I originally wanted to talk about the whole face in this post, but realized since I have quite a few products to recommend that I should really break it down and go in categories. I hope you guys enjoy!! I plan to do other parts of the face soon like contour/blush/highlight, brows, eyes, etc.


Image result for foundation makeup collection
 I wanted to start off by saying that I have normal to combination/ oily skin. These products work well for my skin type and haven't failed me yet. If you have very oily skin, or drier skin, not all of these may work the best for you.

PRIMER:

    I love primer. I didn't care for it at all my first couple years of doing makeup, but primer is really necessary for a strong makeup base. Primer gives your foundation a smooth canvas to glide over, and prevents makeup from sinking into your pores, thus causing breakouts. These are my top favorite primers and I'll explain why:

Benefit Porefessional

Image result for benefit porefessional
Within just the past year or so, my pores have began to be more visible around my nose, cheeks and forehead. Pores are lame and annoying, and I think you all can agree with me on that, especially those of you that struggle with pores. Benefit porefessional helps blur and minimize these annoyances, and makes your skin appear smooth.

https://www.benefitcosmetics.com/us/en/product/porefessional-value-size

*Can be purchased on the benefit website, at sephora and ulta.

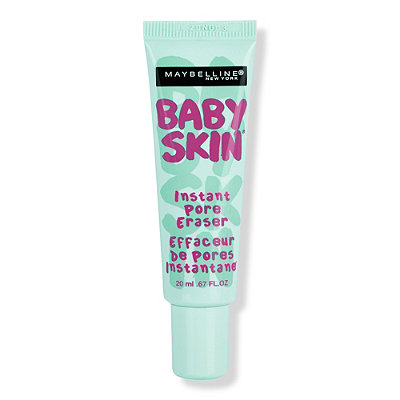
Maybelline Baby Skin

Image result for maybelline baby skin

Ugh I love baby skin. It's a great dupe for benefit porefessional, and is a fraction of the price. The formula of the two is a little different, but they both do the same thing for my skin, and I recommend both. I vary between using either of these day to day.

https://www.maybelline.com/face-makeup/primer/baby-skin-instant-pore-eraser-primer

*Can be purchased in drugstores, the Maybelline site, and Ulta.

Maybelline Master Prime in Blur & Smooth

Image result for maybelline master prime

This primer I have been using for around a year or so and I can't live without it. It's such a great base for your makeup when applied all over the face. It really helps the foundation to blend evenly and it's a tiny bit moisturizing as well.

https://www.maybelline.com/face-makeup/primer/facestudio-master-prime-primer/blur-smooth

*Can be purchased in drugstores, the Maybelline site, and Ulta.

BECCA Backlight Priming Filter

Image result for becca backlight priming filter

This primer I ONLY apply on my cheekbones, and maybe any extra places I have dry patches in. I am sure to avoid the oily areas on my skin, because this provides shine to the face. This is a great primer, because applied in the places it needs to be, it lifts and awakens your skin, and brings in so much light. it makes my highlight glow stronger, and we all know how flat our face can look after a thick layer of foundation. This combats that and gives the skin more life. It's great at giving you a  beautiful glow from within. A little bit goes a long way.

https://www.beccacosmetics.com/shop/complexion/backlight-priming-filter.html

* Can be purchased in Sephora, on the BECCA site, and Ulta

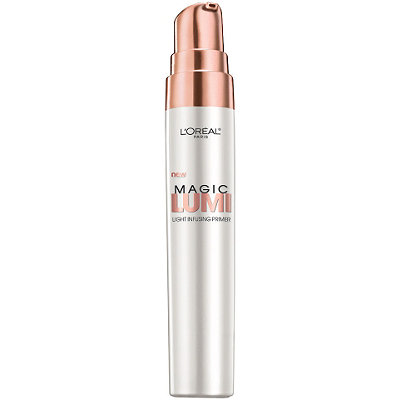
Loreal Magic Lumi Light Infusing Primer

Image result for loreal lumi primer

I love this primer. Obviously, because why else am I mentioning it right? To me, it's an exact dupe to the BECCA one. In fact, I use it even more than the BECCA one, because it's just so much more affordable.

http://www.lorealparisusa.com/products/makeup/face/makeup-primer/magic-lumi-primer-magic-lumi-light-infusing-primer.aspx?shade=Magic-Lumi-Light-Infusing-Primer

*Can be Purchased in drugstores, on the Loreal site, and Ulta

Benefit porefessional Matte Rescue

Image result for benefit porefessional matte

This is like the porefessional, but works in some minor different ways. It doesn't blur out the pores nearly as much as the original because of its gel- like consistency. What it does do though, is it helps keep your skin matte enough so it's not too oily by the end of the day, but also not flat matte or cakey. It's great! I apply this to the chin and forehead, because I get the most oily there.

https://www.benefitcosmetics.com/us/en/product/the-porefessional-matte-rescue

*Can be purchased in Sephora, on the Benefit site, and Ulta

FOUNDATION:

Like mentioned earlier, I vary from normal- combo/oily skin. I say this, because oils can tend to seep through in some problematic spots throughout the day. This is typically in the forehead, inner cheek/ nose area, and chin. This is called the "T-Zone" in makeup terms. When I need a foundation. I find it best for me to just really moisturize my skin, apply moisturizing primers (like the ones previously stated), then to apply a matte or demi matte foundation. This is just the best routine that works for me, so keep this in mind when I talk about my personal favorite foundations :)

Loreal Infallible Pro Matte
Related image


I've used this foundation for nearly two years and it never fails me. It stays on and flawless looking all day long. Even towards the end of the day when I do start to get a little more oily, my makeup still stays in place and doesn't show a ton of shine. I highly highly highly recommend this to everyone with combo to oily skin types.I don't recommend this to you lovelies with drier skin types, though. However, Loreal does have an Infallible Pro Glow, that you may want to check out.

http://www.lorealparisusa.com/products/makeup/face/foundation-makeup/infallible-pro-matte-foundation.aspx?shade=Classic-Ivory-101

Can be purchased in drugstores, on the Loreal site, and ulta.

Loreal Tru Match

Image result for l'oreal true match

I typically wear this foundation either in the dead of winter when my skin gets really flat and dry looking, or will mix it with the pro matte when it's warmer and my skin has more oil than normal. I loooooove how this foundation applies, looks, etc., but it doesn't give the same longevity wear or keep my oils at bay as much. This is good for normal - dry skin types for sure year round. I do adore this foundation though, and really with I can wear it more myself.

http://www.lorealparisusa.com/products/makeup/face/foundation-makeup/true-match-super-blendable-makeup.aspx?shade=W1-Porcelain-Warm

*Can be purchased at drugstores, on the Loreal site, and Ulta.

HONORABLE MENTIONS:
These products I have tried and do enjoy, but don't 100 % recommend them for maybe one reason or two.

Lancome Teint Idole Ulta 24 Hr Wear Foundation.

So, I got this as a graduation gift from a relative of mine who works at a lancome counter, Otherwise, would I have paid 47$ for it? Yeah probably not honestly. I do enjoy the foundation! I just think for the price, I get the same outcome with my loreal pro matte foundation.

Maybelline Fit Me Matte & Poreless

I know this is a cult favorite. But I have two complaints about this: the packing and the longevity. The packaging is just a glass jar, so dumping the product out onto your hand is such a hassle. Having products be distributed in a squeeze tube or pump is the most ideal. You're not as likely to waste as much product when products are packaged in a squeeze tube or pump for one, and two, it's a lot more sanitary. When products are packaged in a jar, you typically tend to get your fingers in the jar alot, and that obviously spreads germs. Now, onto the longevity- it's just not a super long wearing foundation if you ask me! 9/10 times, when I'm wearing makeup, it's for 8-9 hours of the day. So I need something that will last me that time, and I won't look in the mirror mortified at my makeup at the end of the day. Typically, matte foundations wear longer as well, so it's just very very average to me in all honesty. SO- I do wear this foundation sometimes. I only do though on the rarer days when I know I'll only need foundation on for a few hours. Just on my skin, it sadly doesn't last long!


So there you guys have it! My top favorite primers and foundations. Let me know if any of you guys swear by any of the same products😊